I had some time last Sunday to start adapting the Y-axis on the 3D printer project.
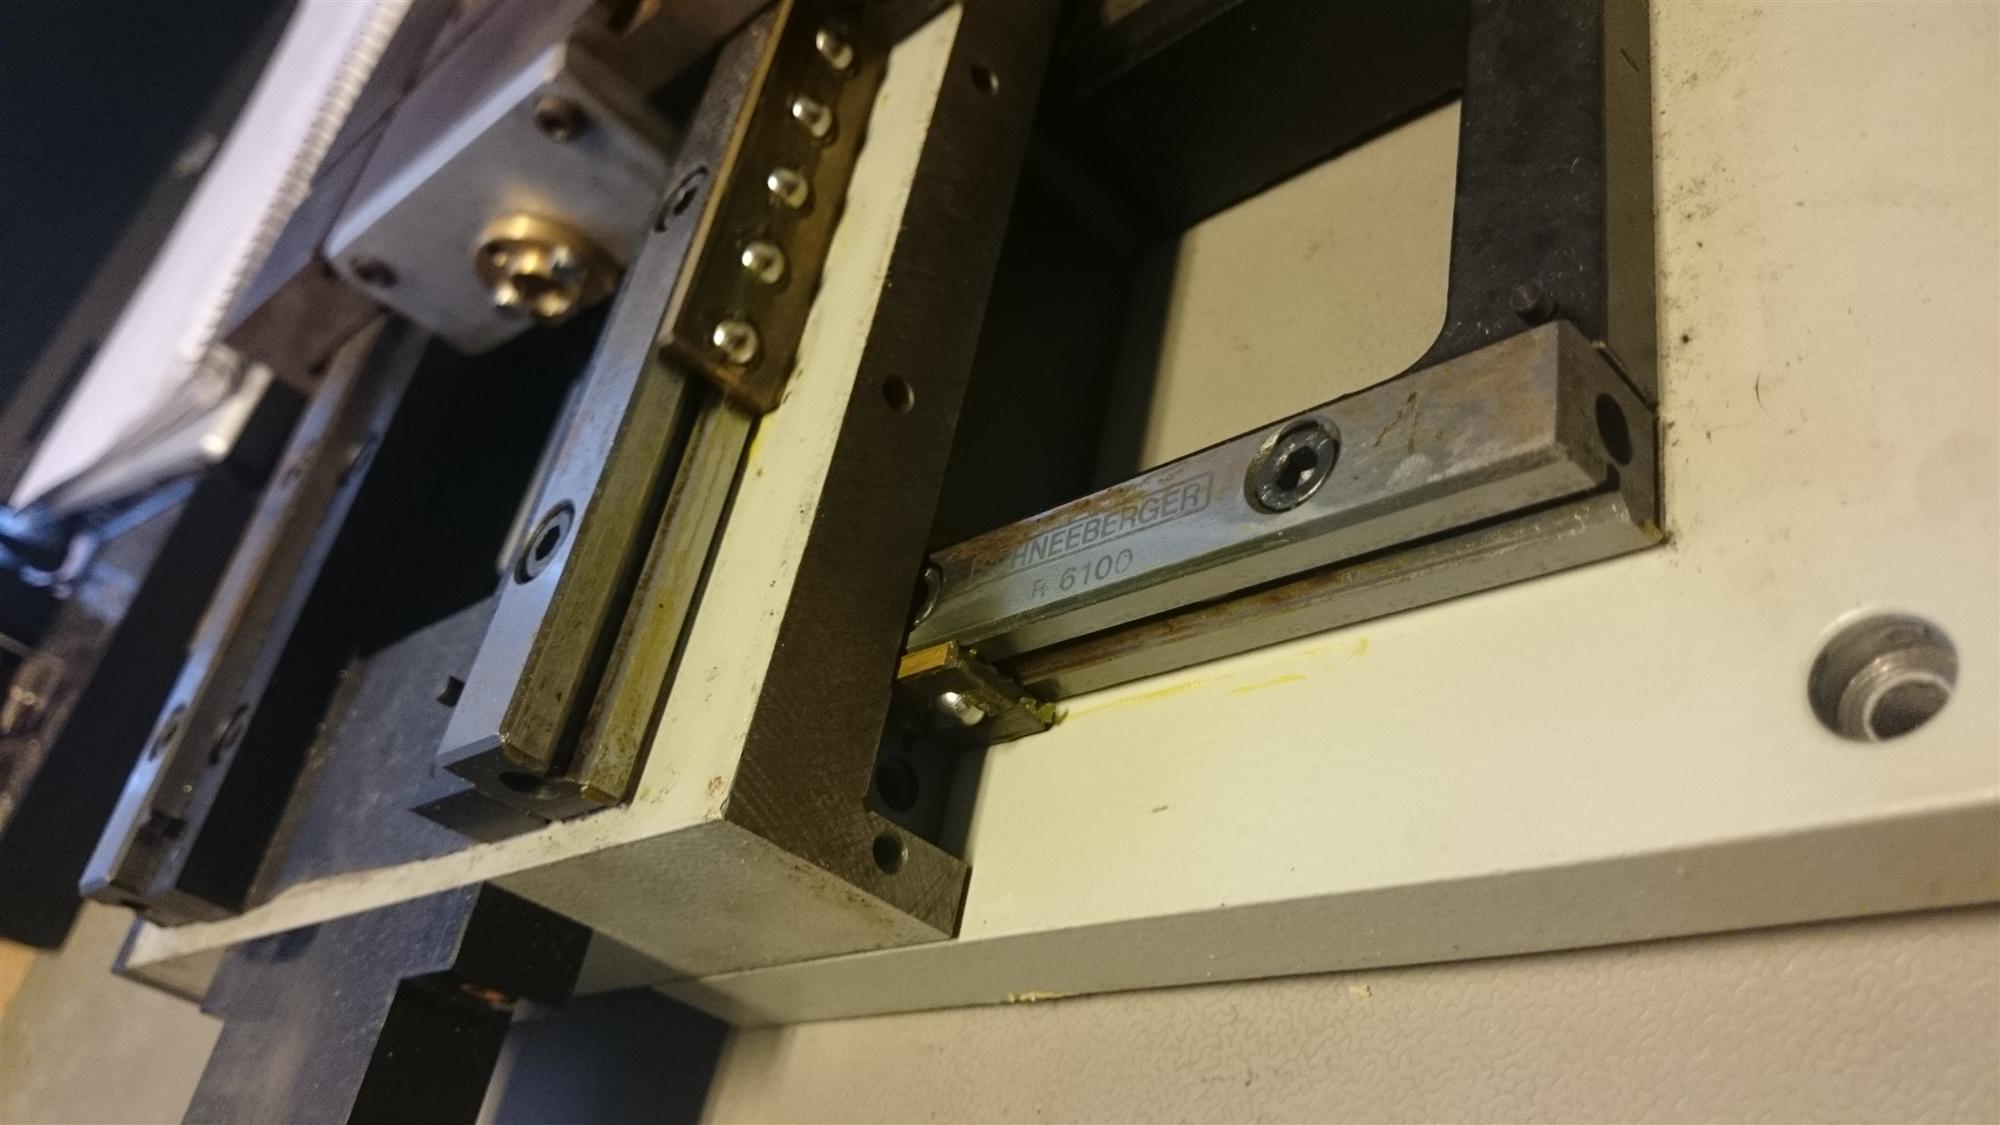
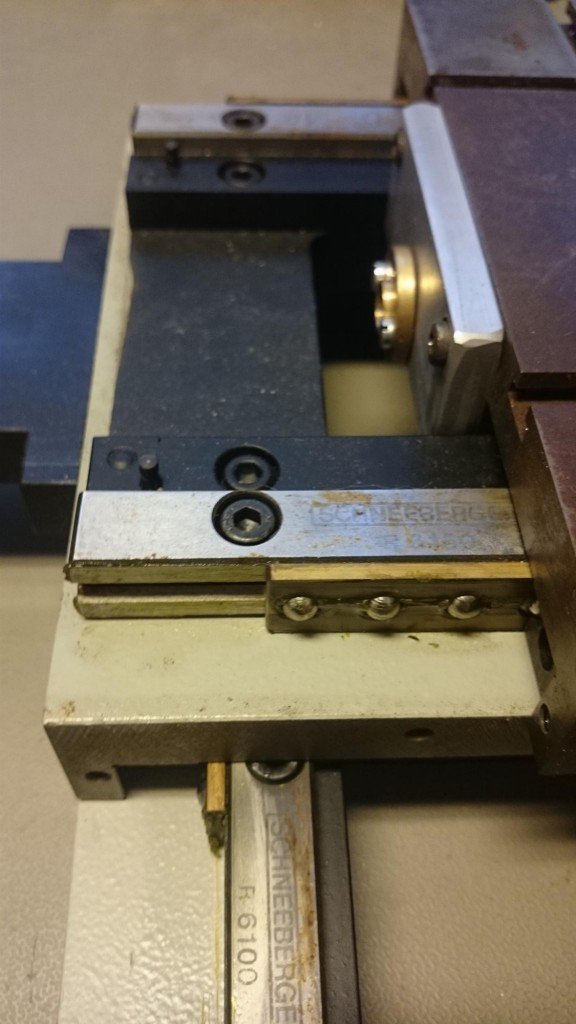
Firstly I checked the movement of the Y-axis and concluded that I can get a 12 cm working area from it. I took the XY-table apart and removed some springs that were attached to the Y-axis
-
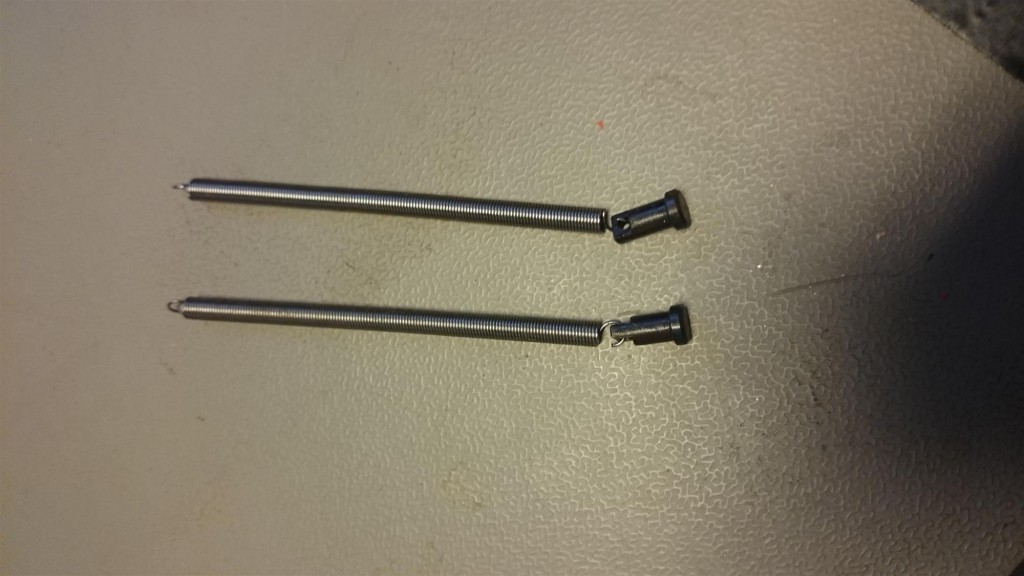
- I started by removing these springs from the Y-axis

-
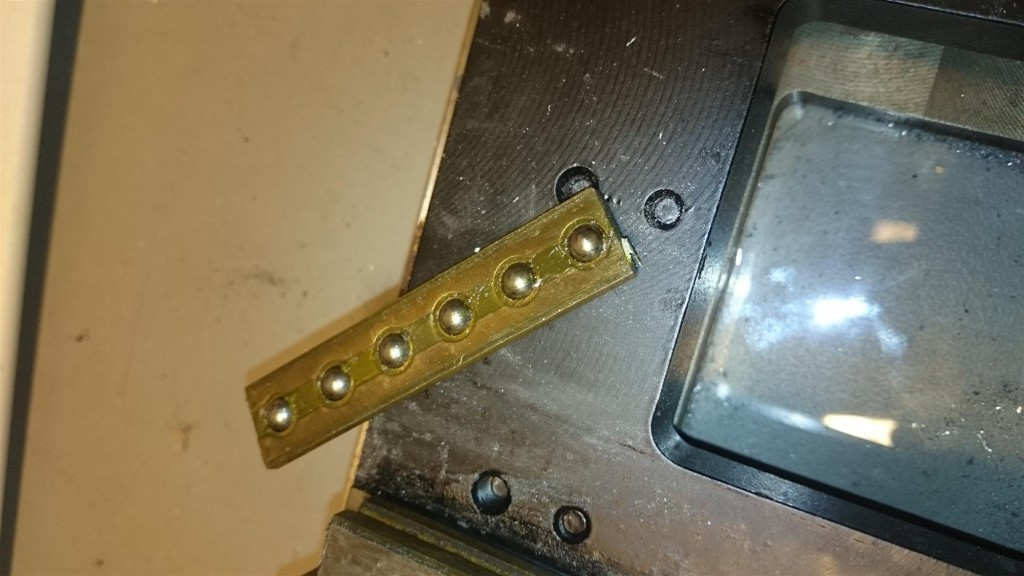
- The tracks have these little rails with small balls between them to move smoothly.

-

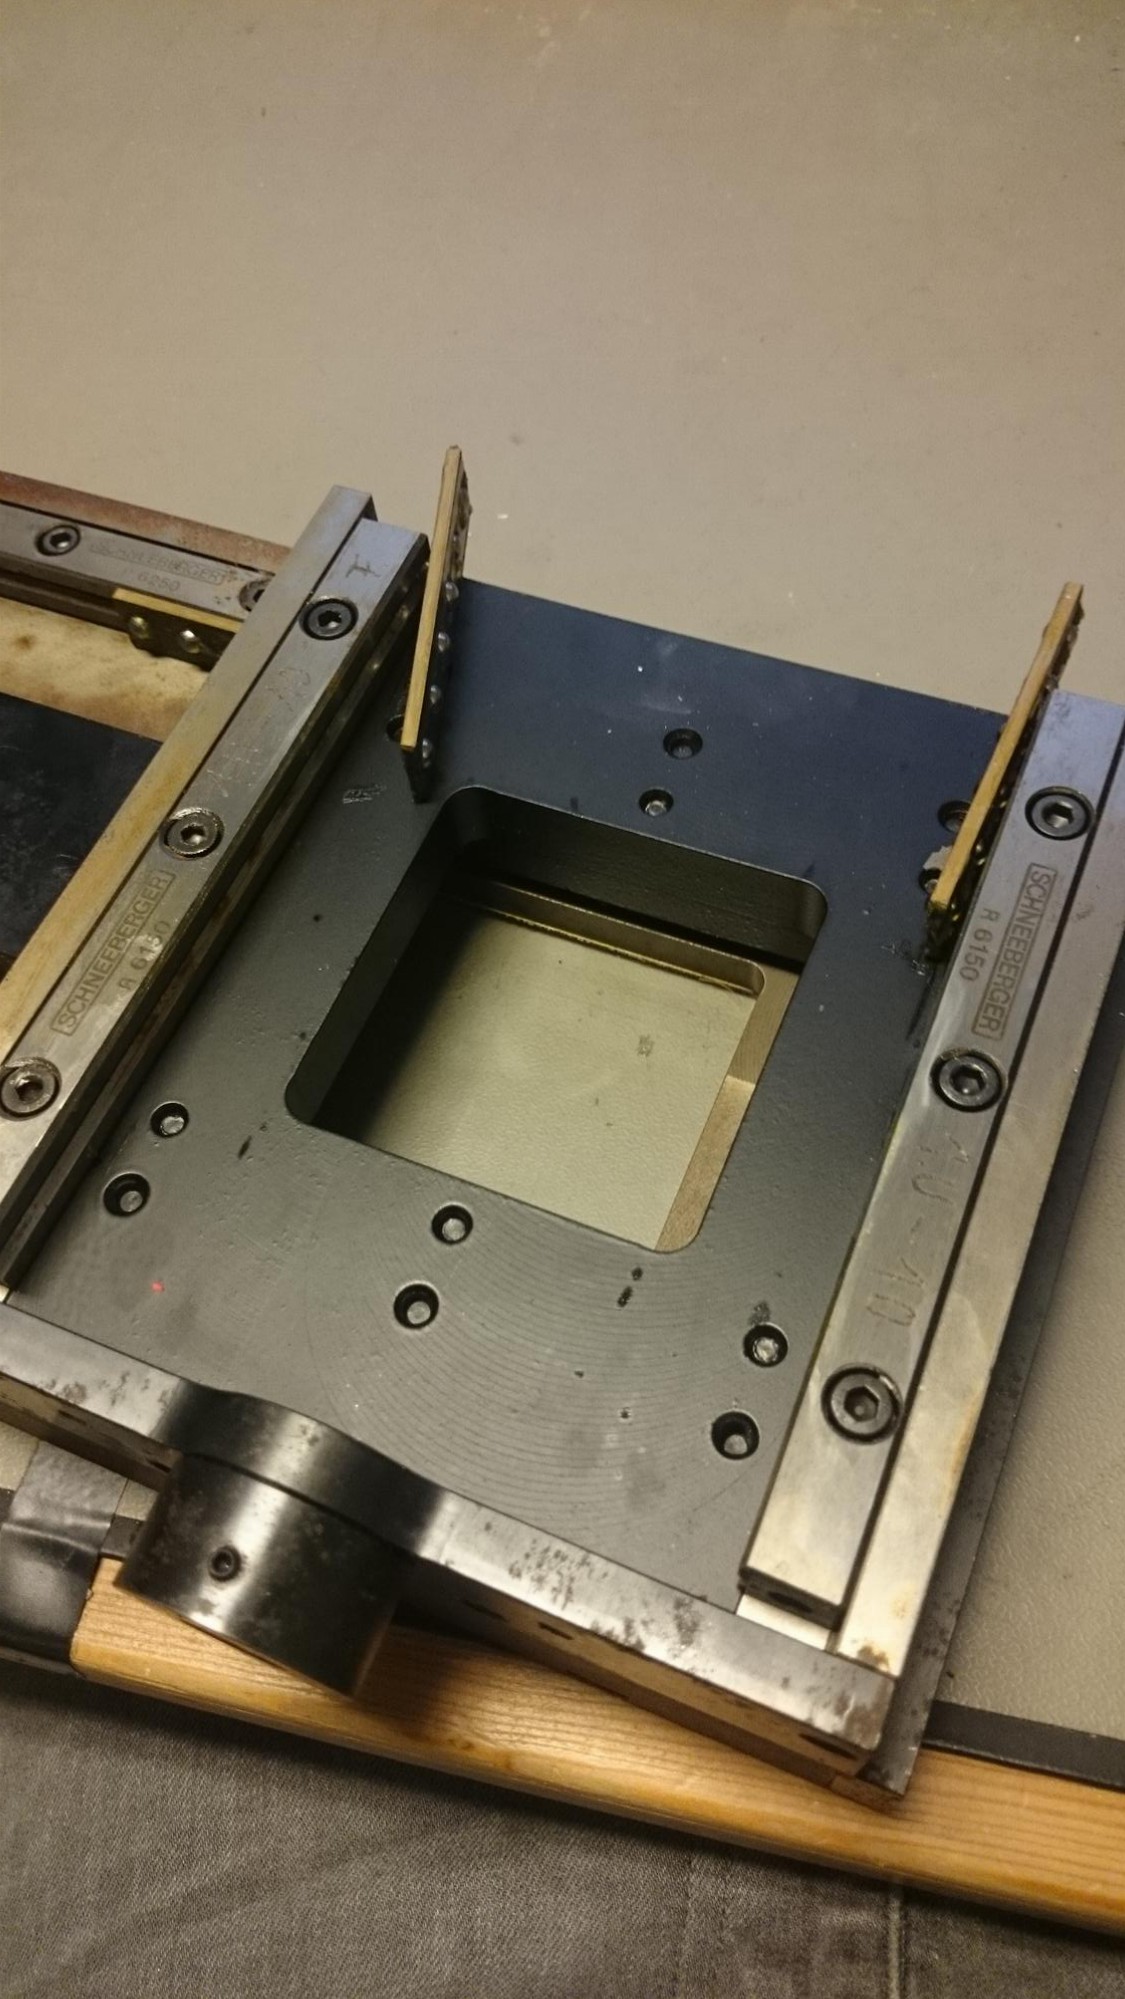
- The rails go here.
-
- Smooth

-
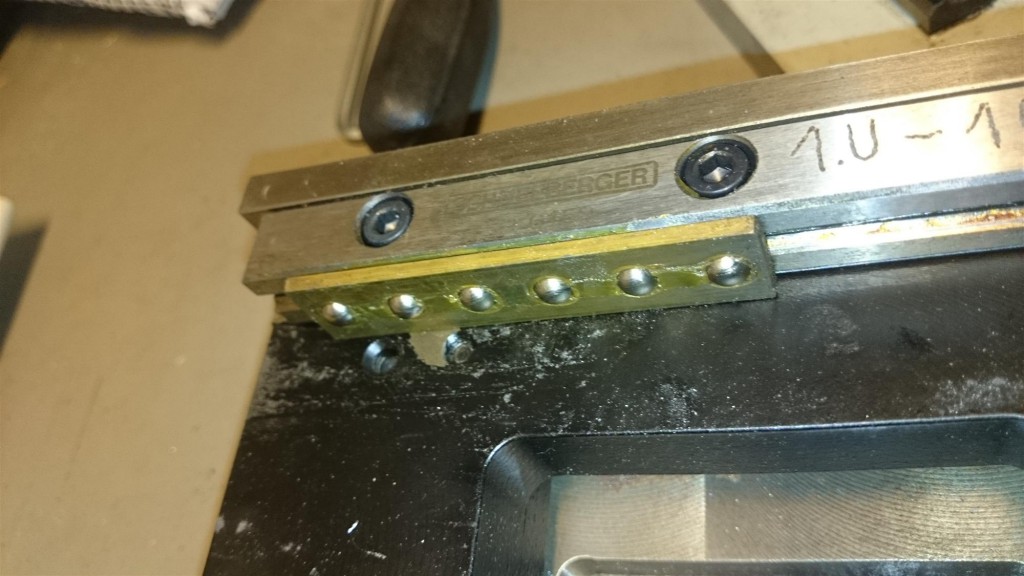
- Have to be careful not to get too much dirt in here

-
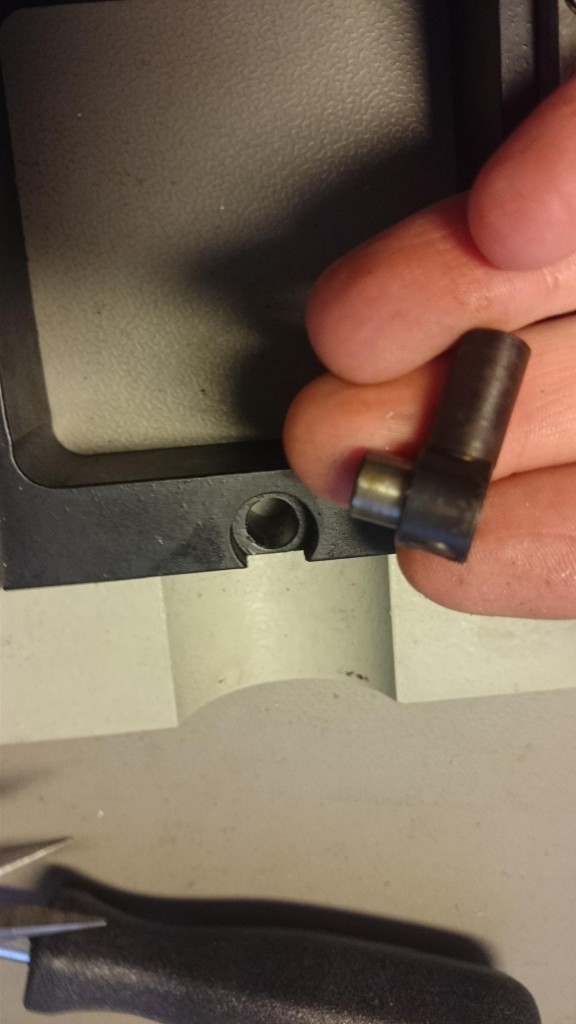
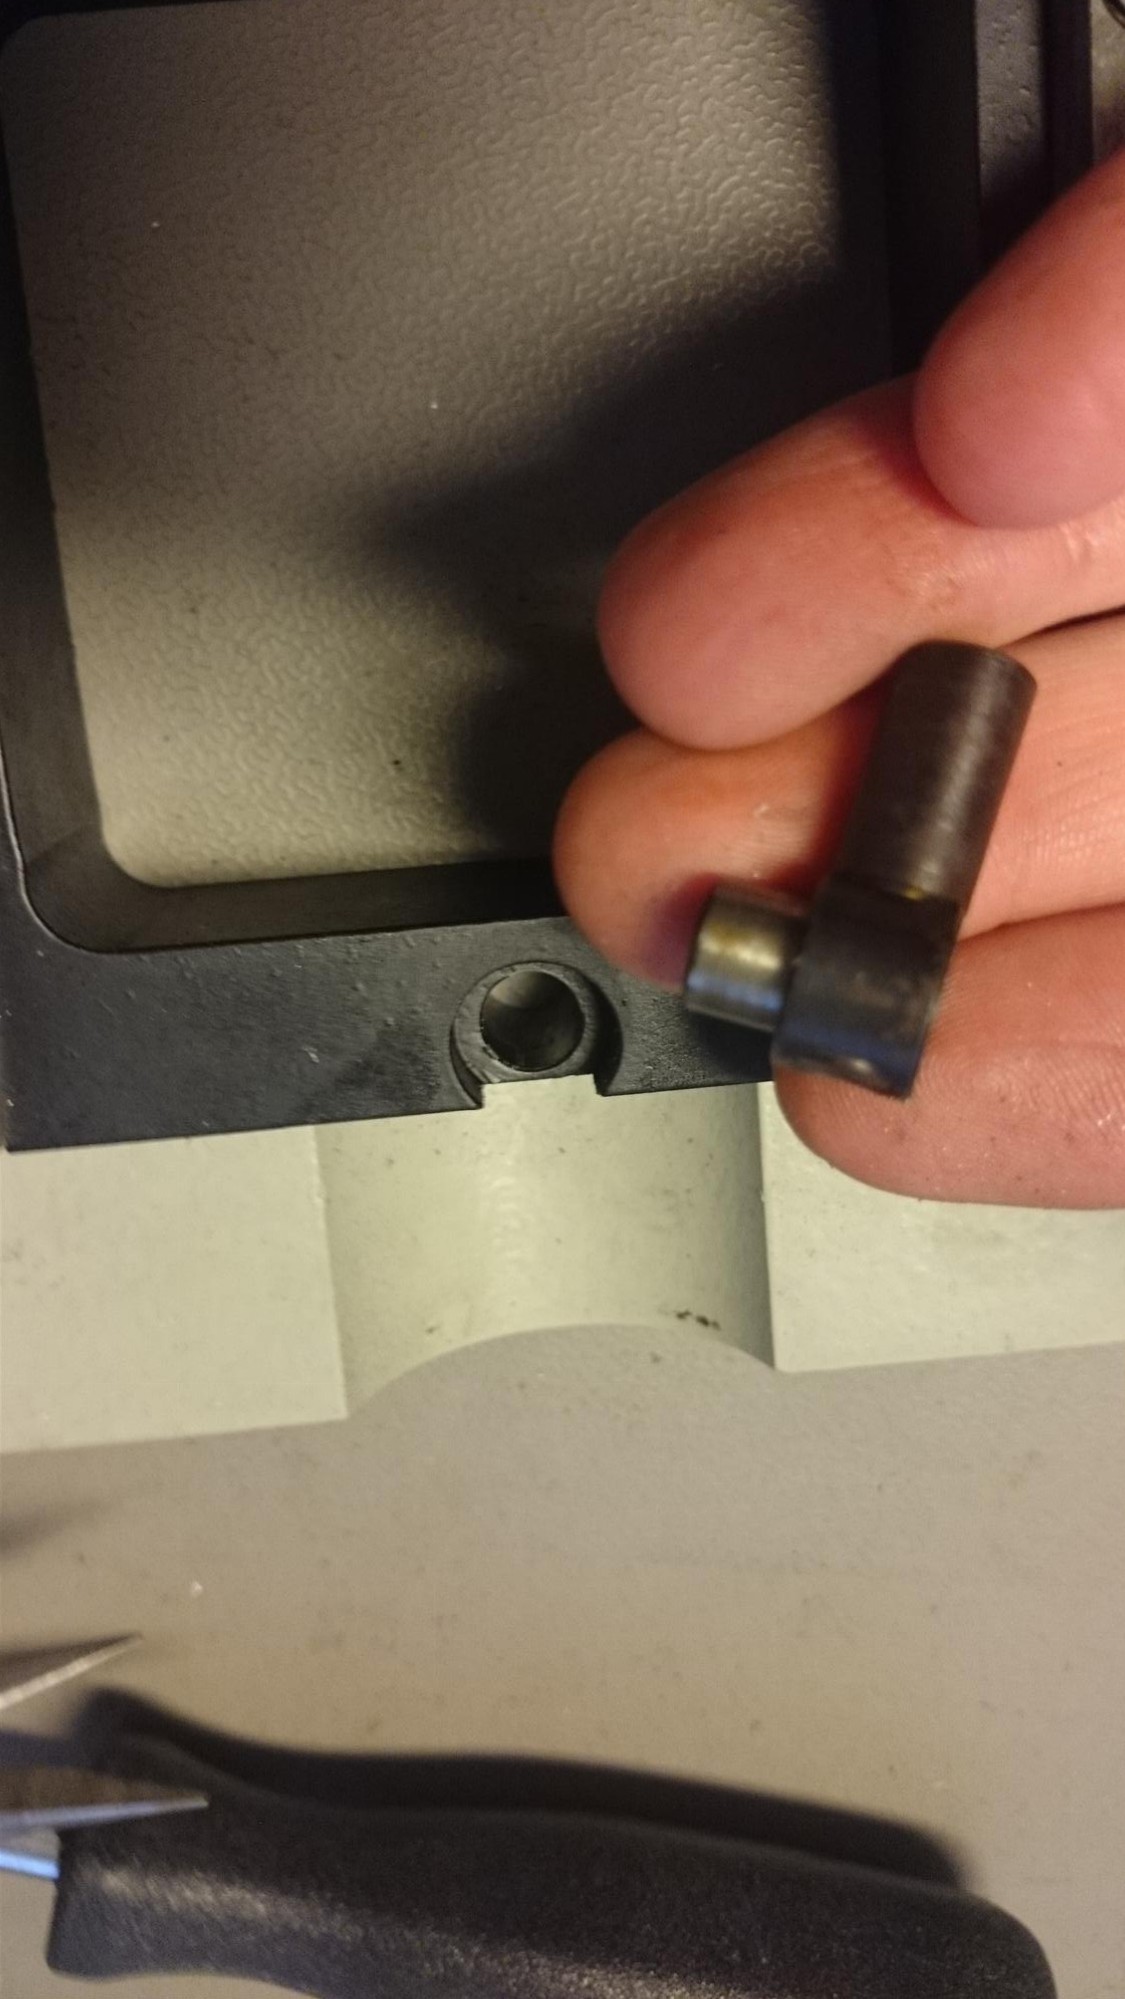
- Won’t be needing this part no more
-
- This will go here
-
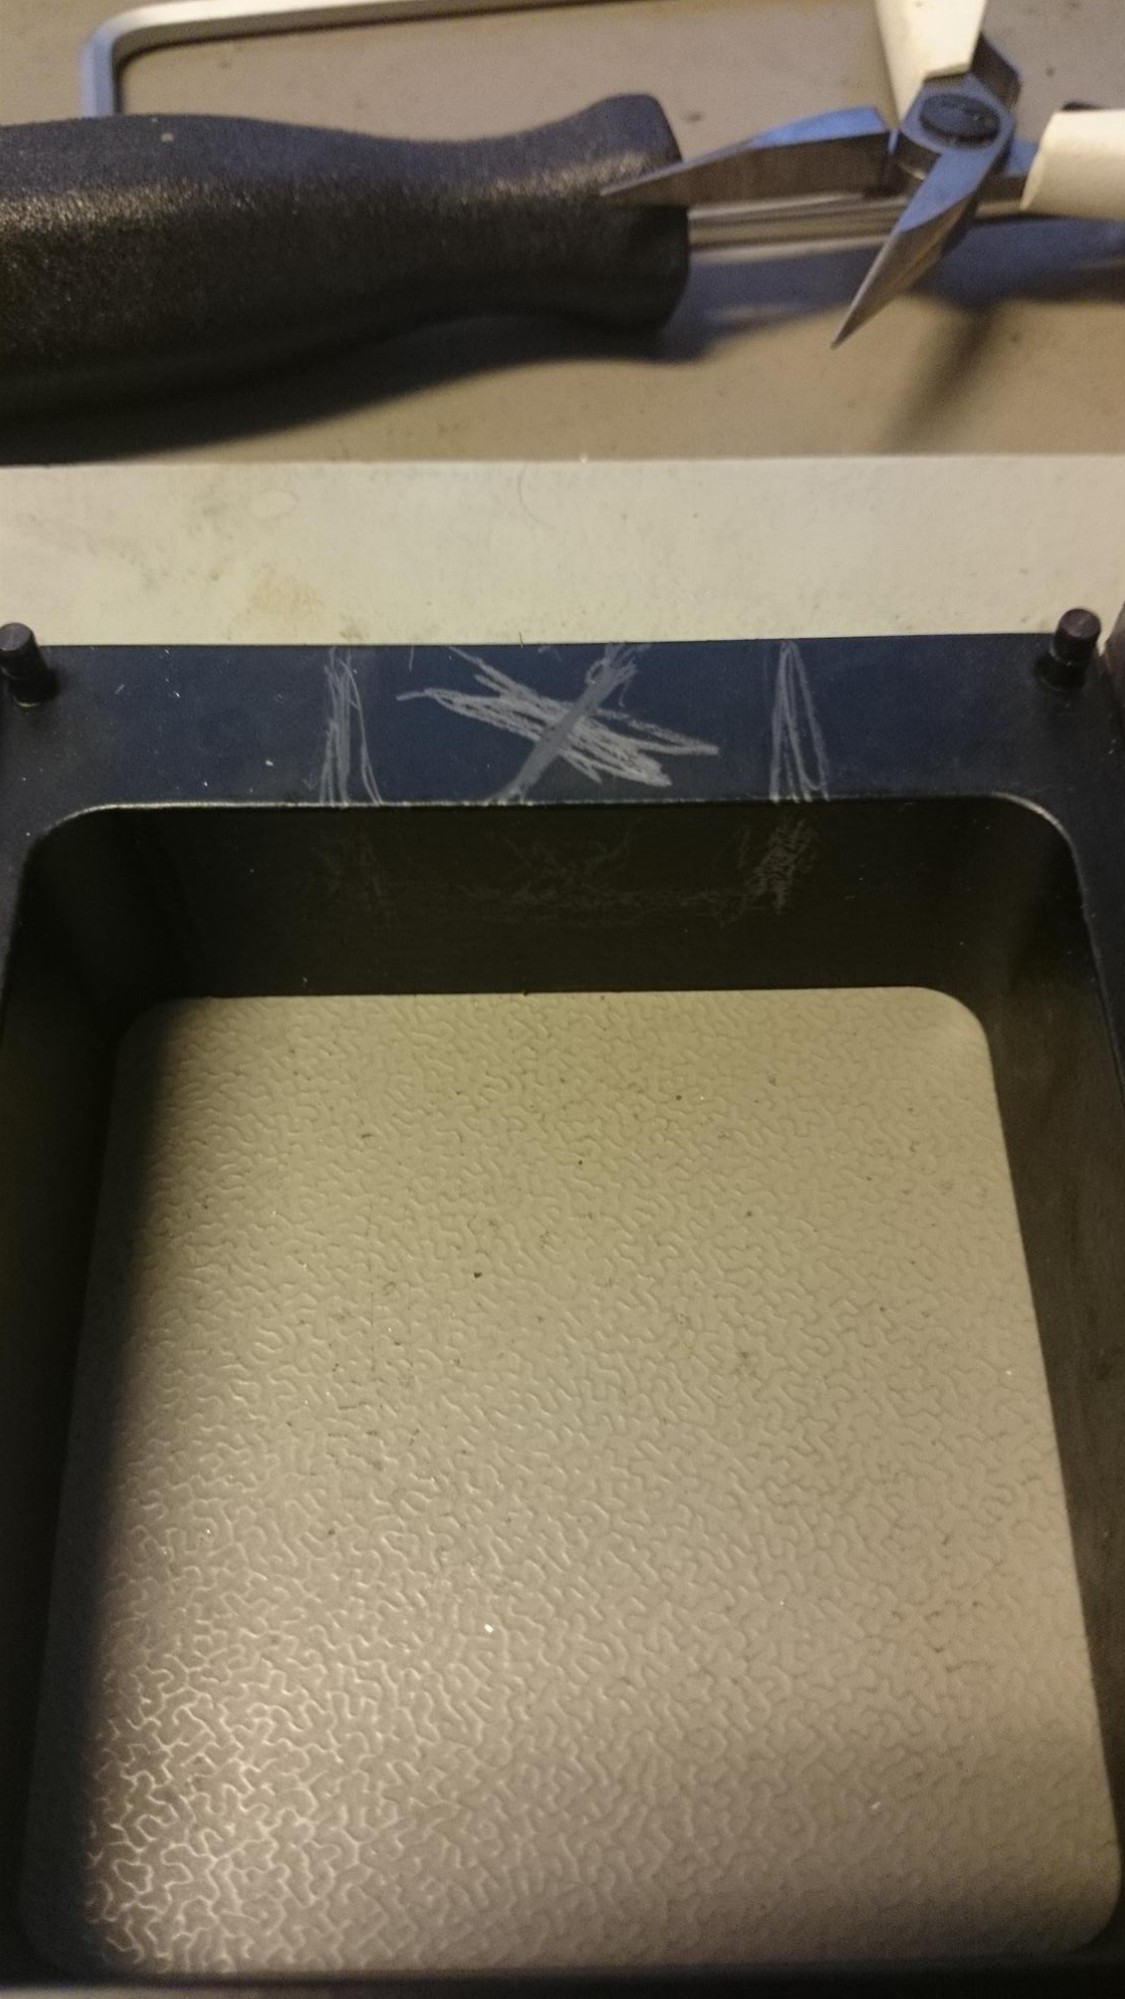
- I’ll have to make some adjustments here
-
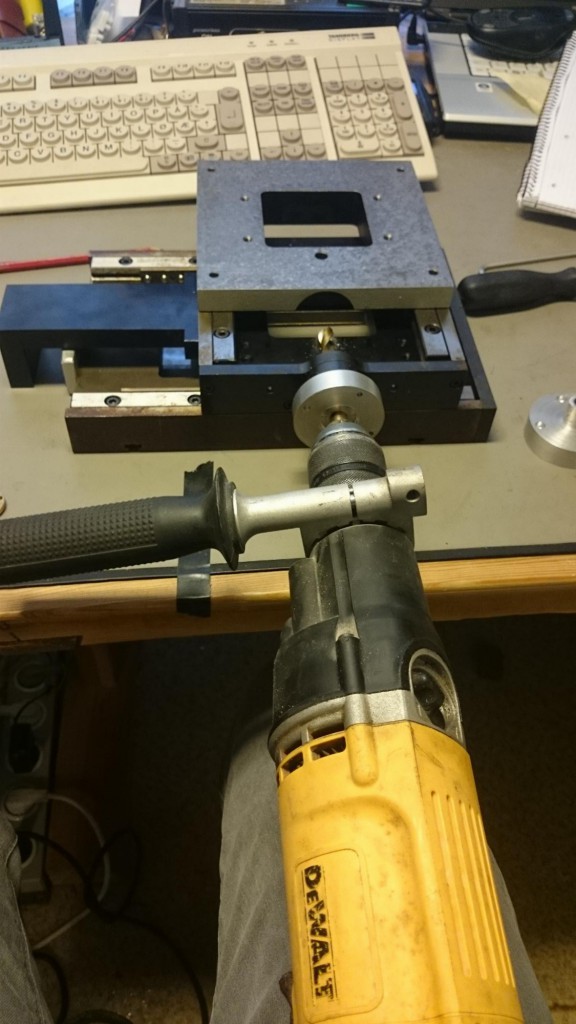
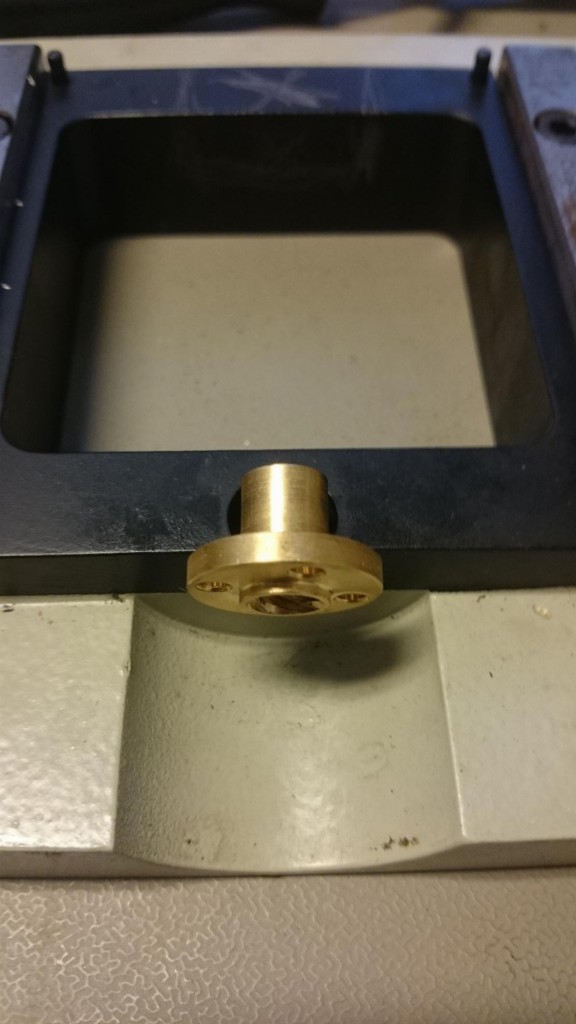
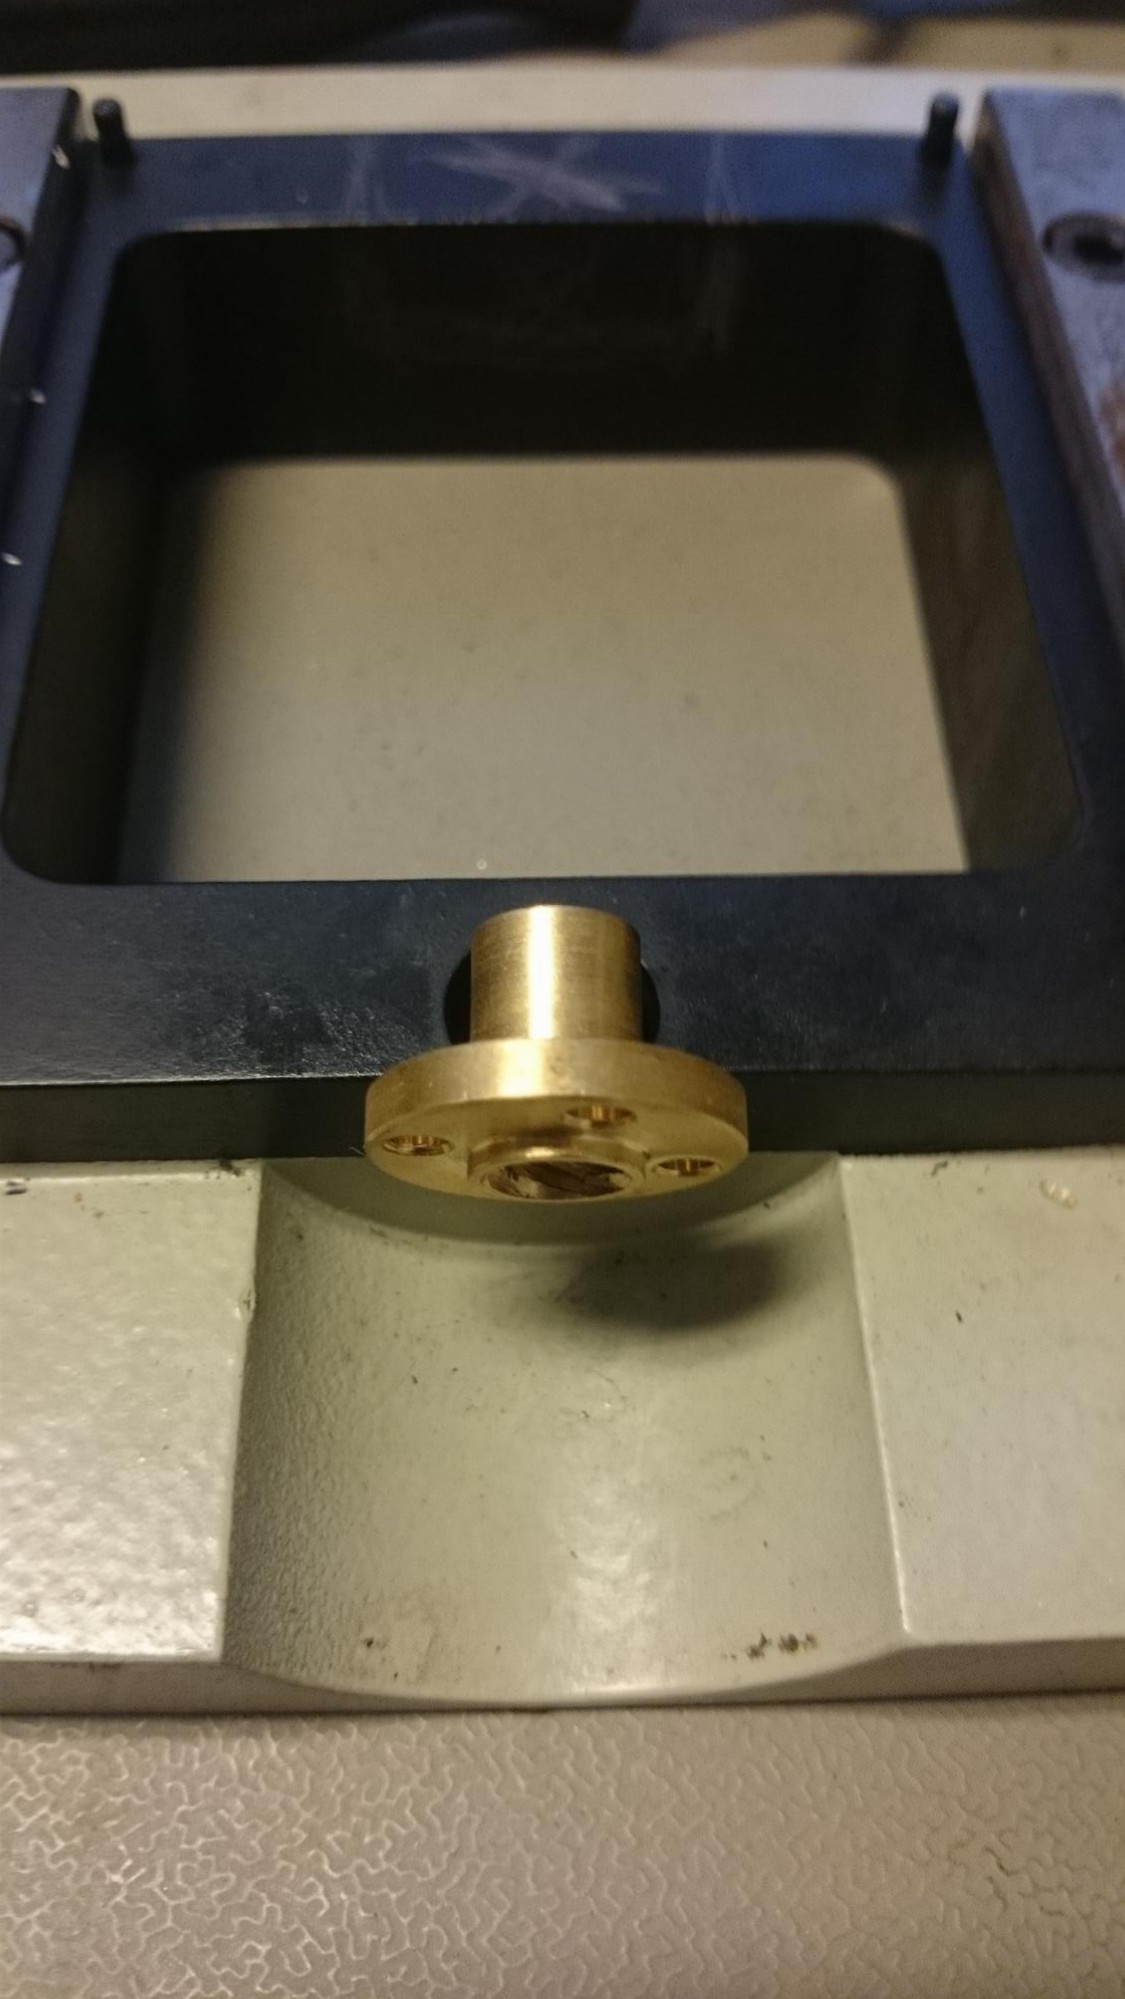
- I used the stepper motor adapter to hold the drill bit in the exact center before drilling. The steel was really hard to work through, but at least I managed to make a center mark before moving to the drill press.

-

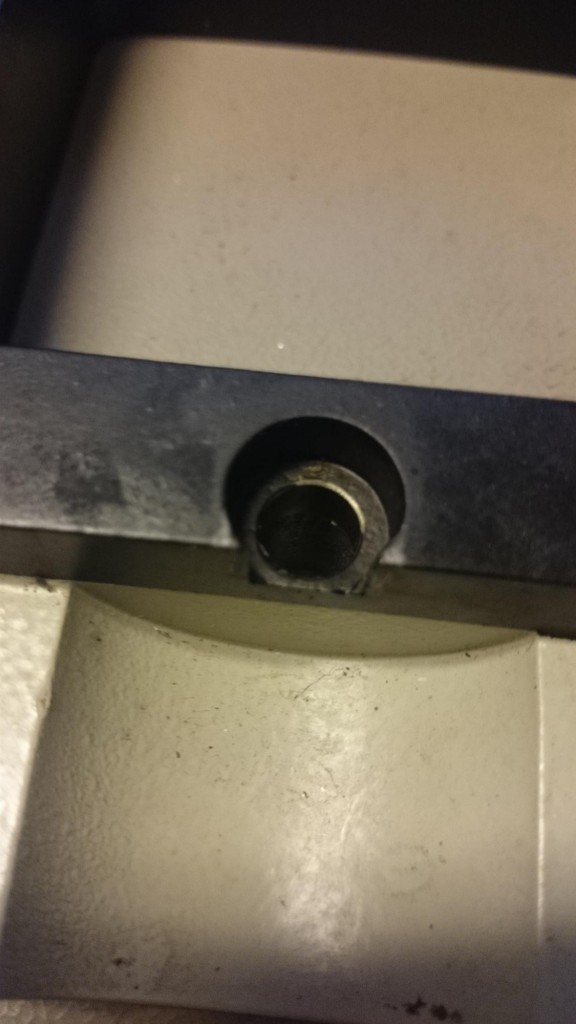
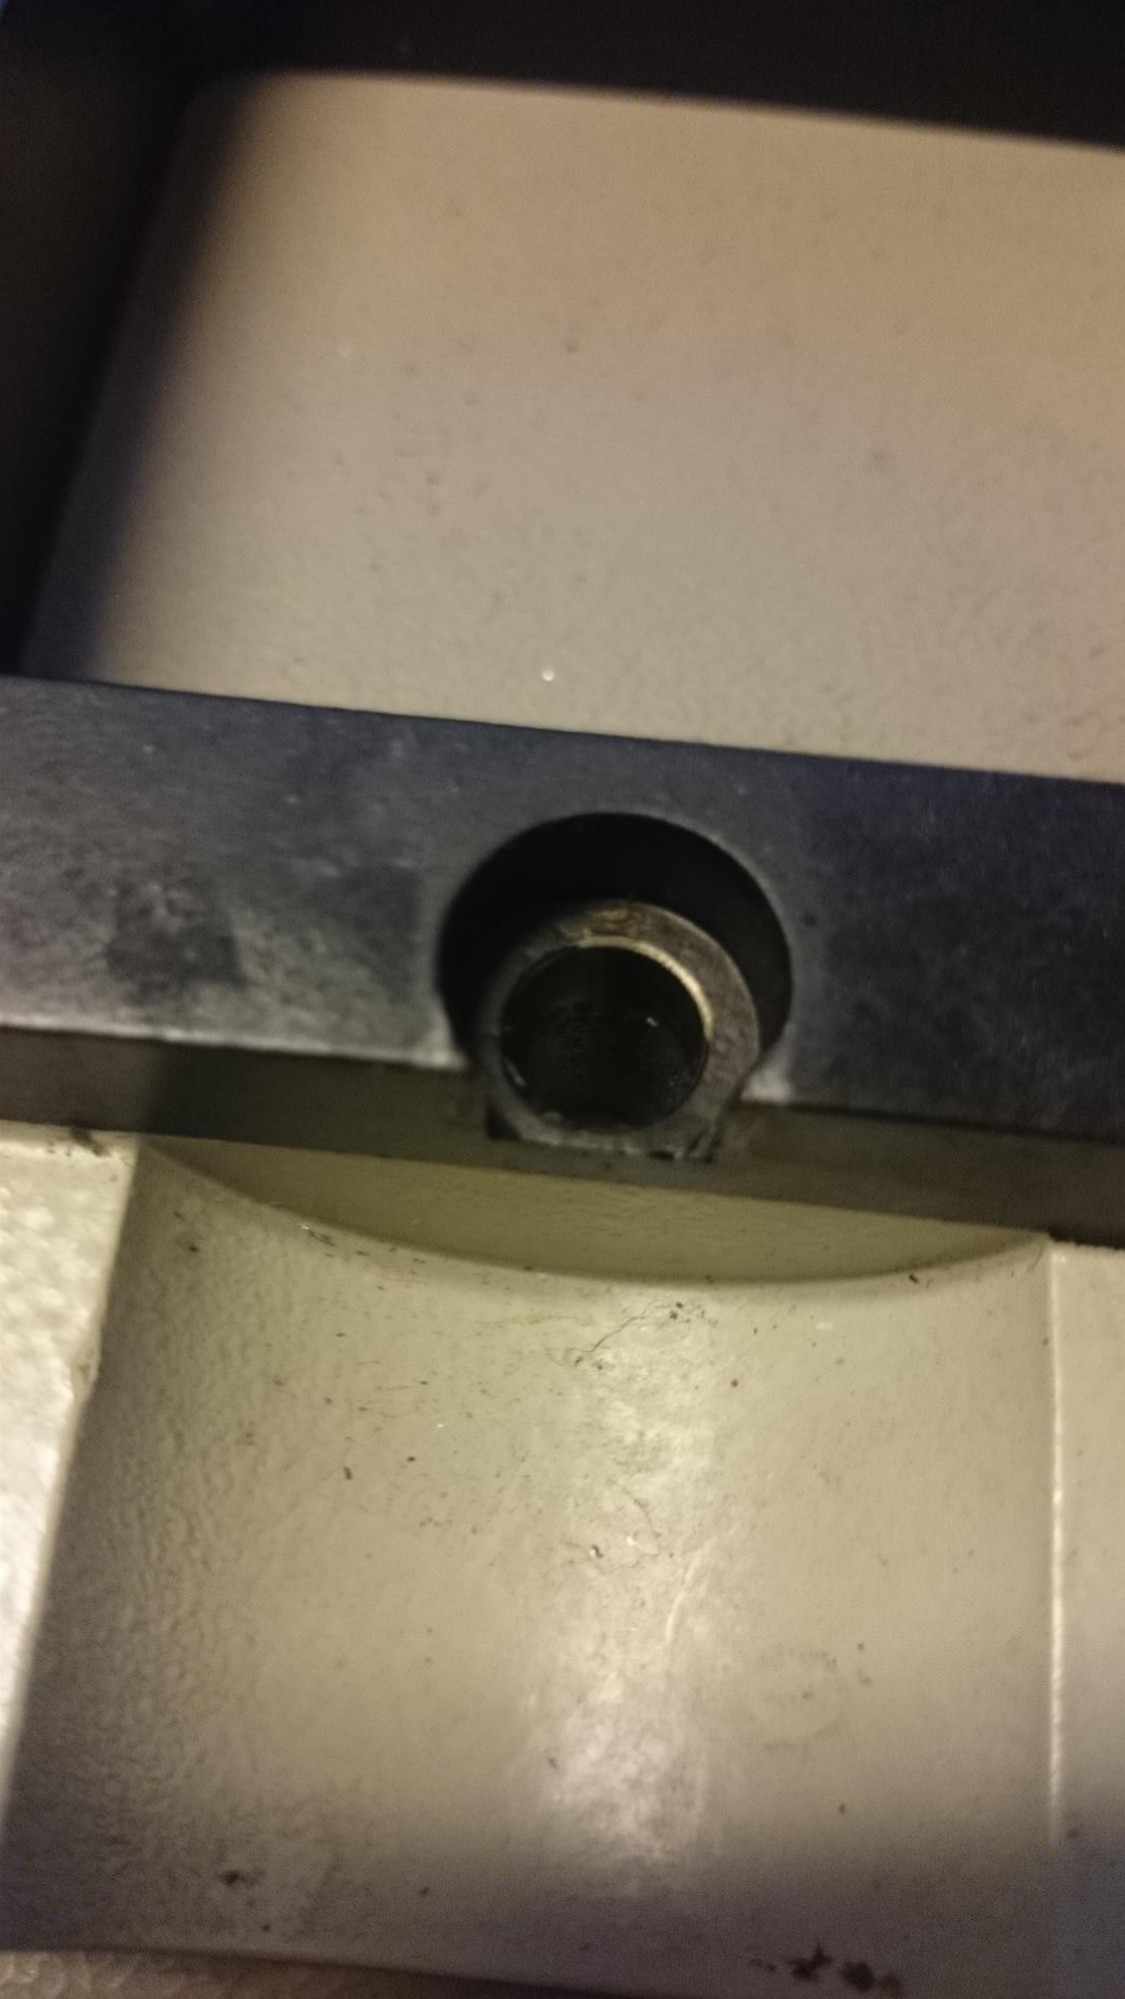
- It fits well 🙂
-

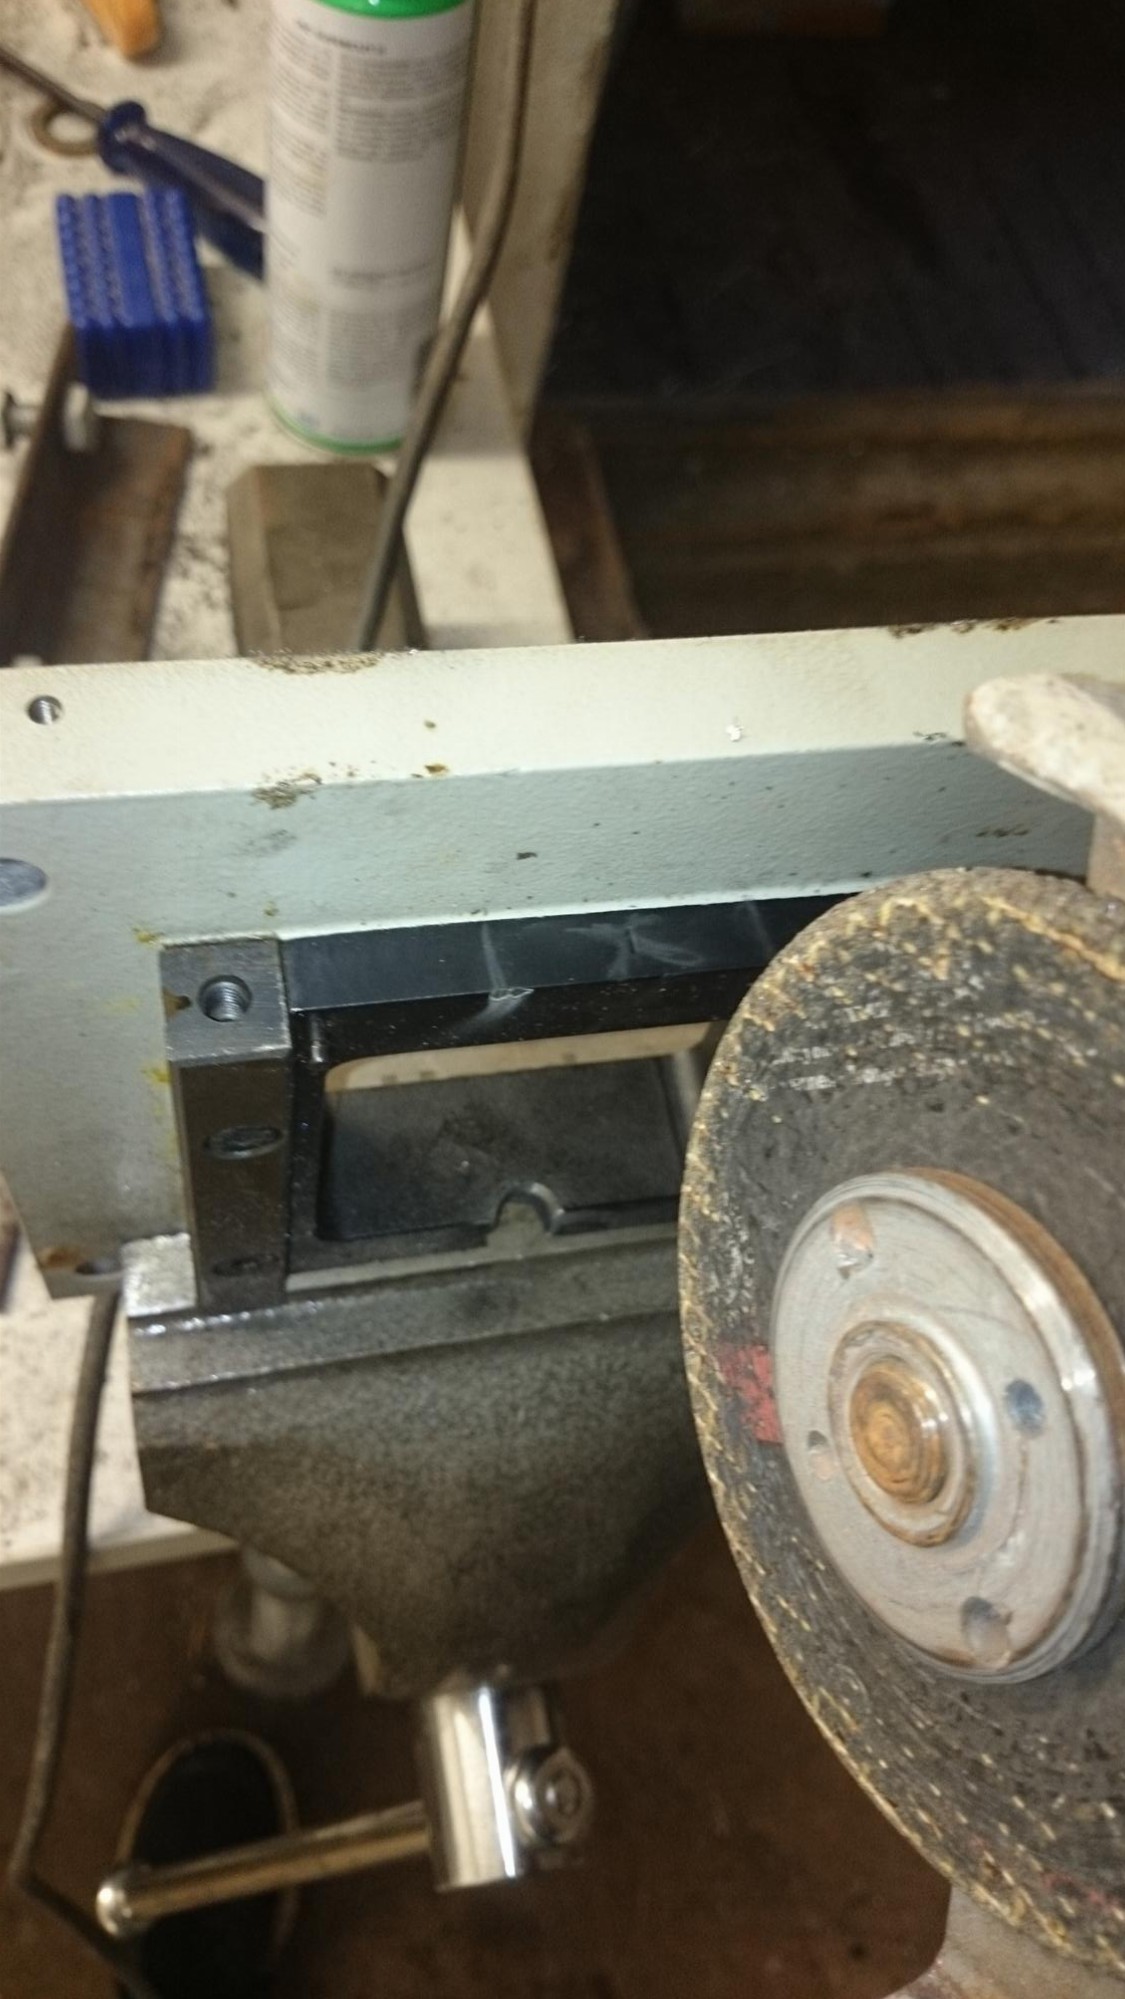
- This entire section will have to be removed for the bearing and lead screw to pass underneath.
-

- This is one solid piece, no reason to go easy on it!
-
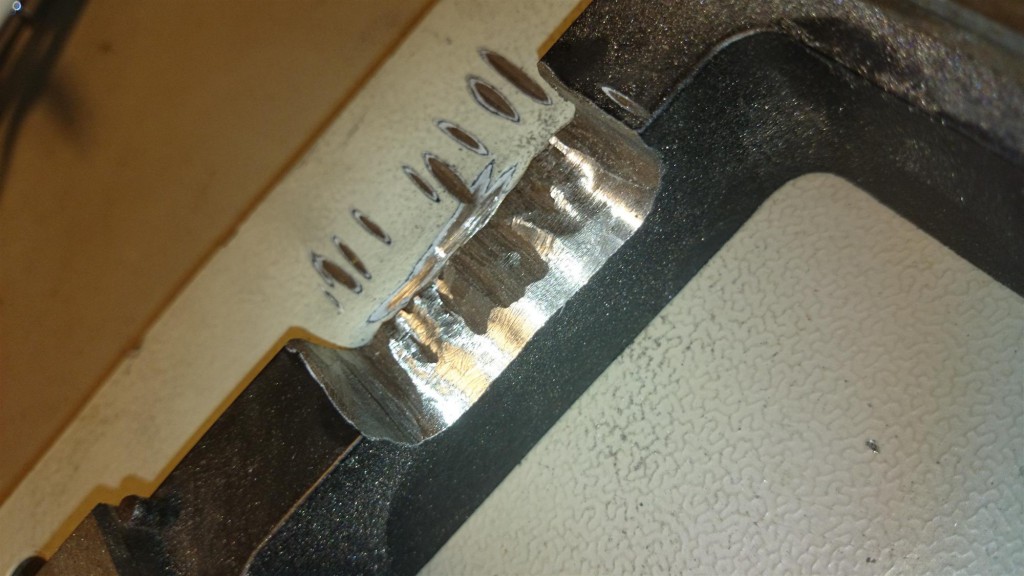
- Grinders are such fun!

-
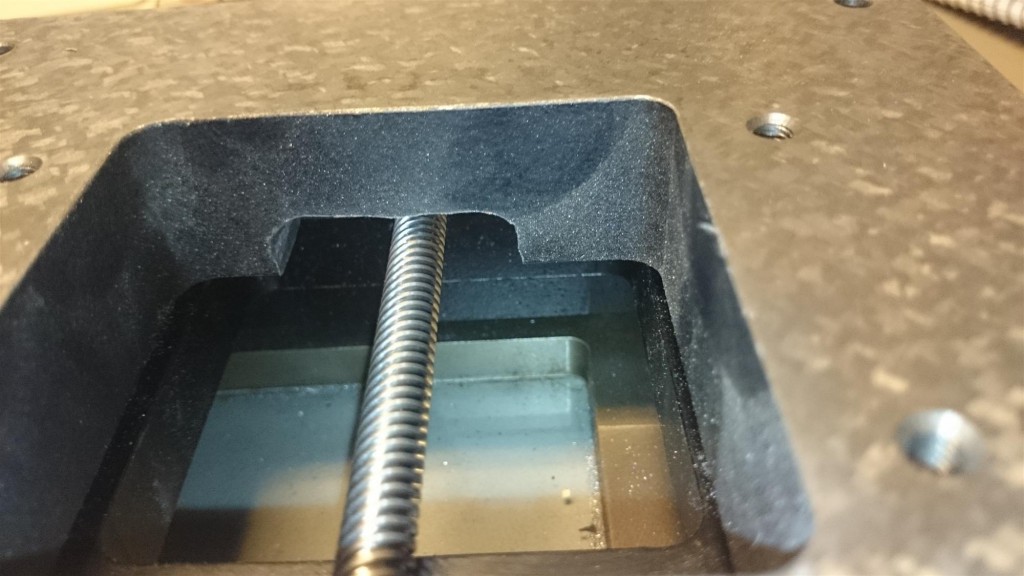
- Now it passes

-

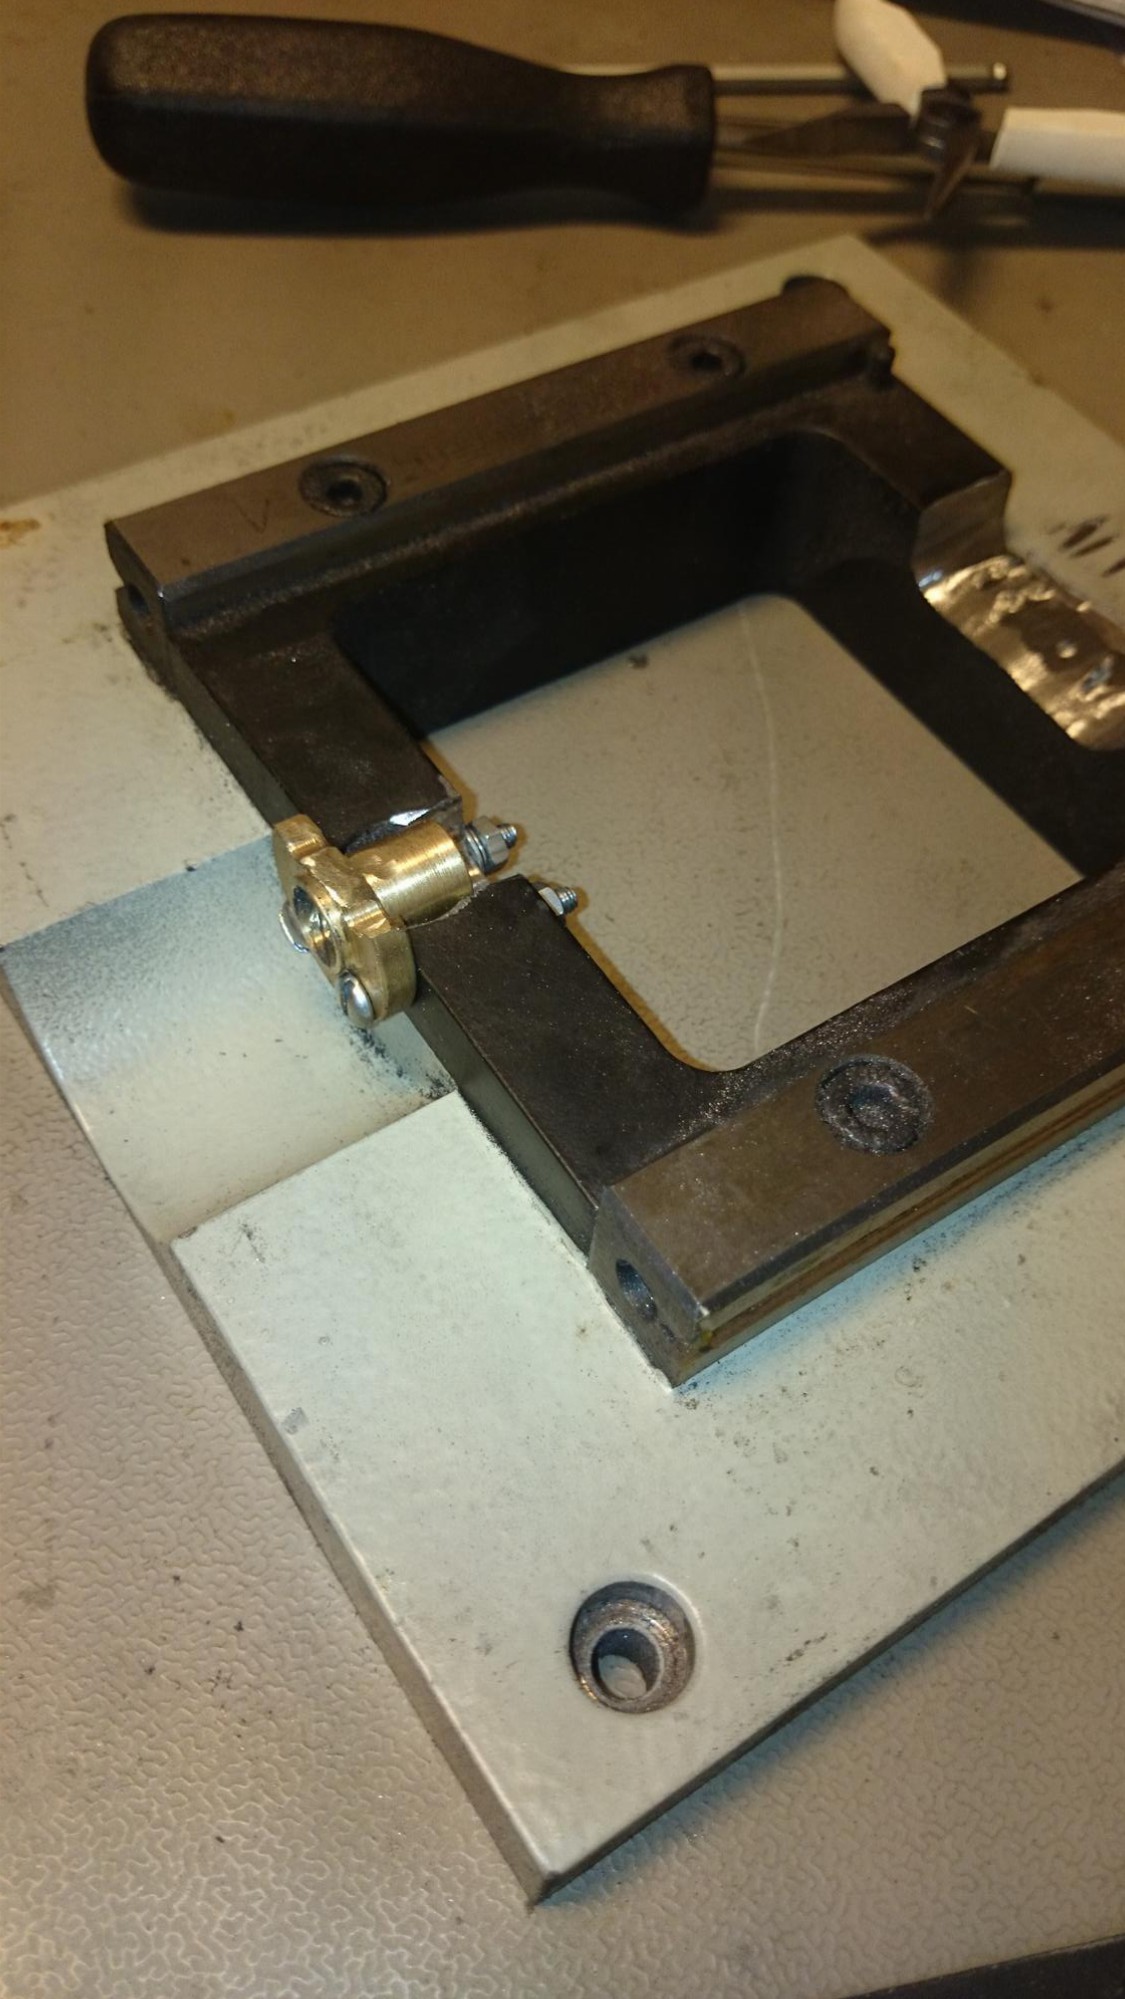
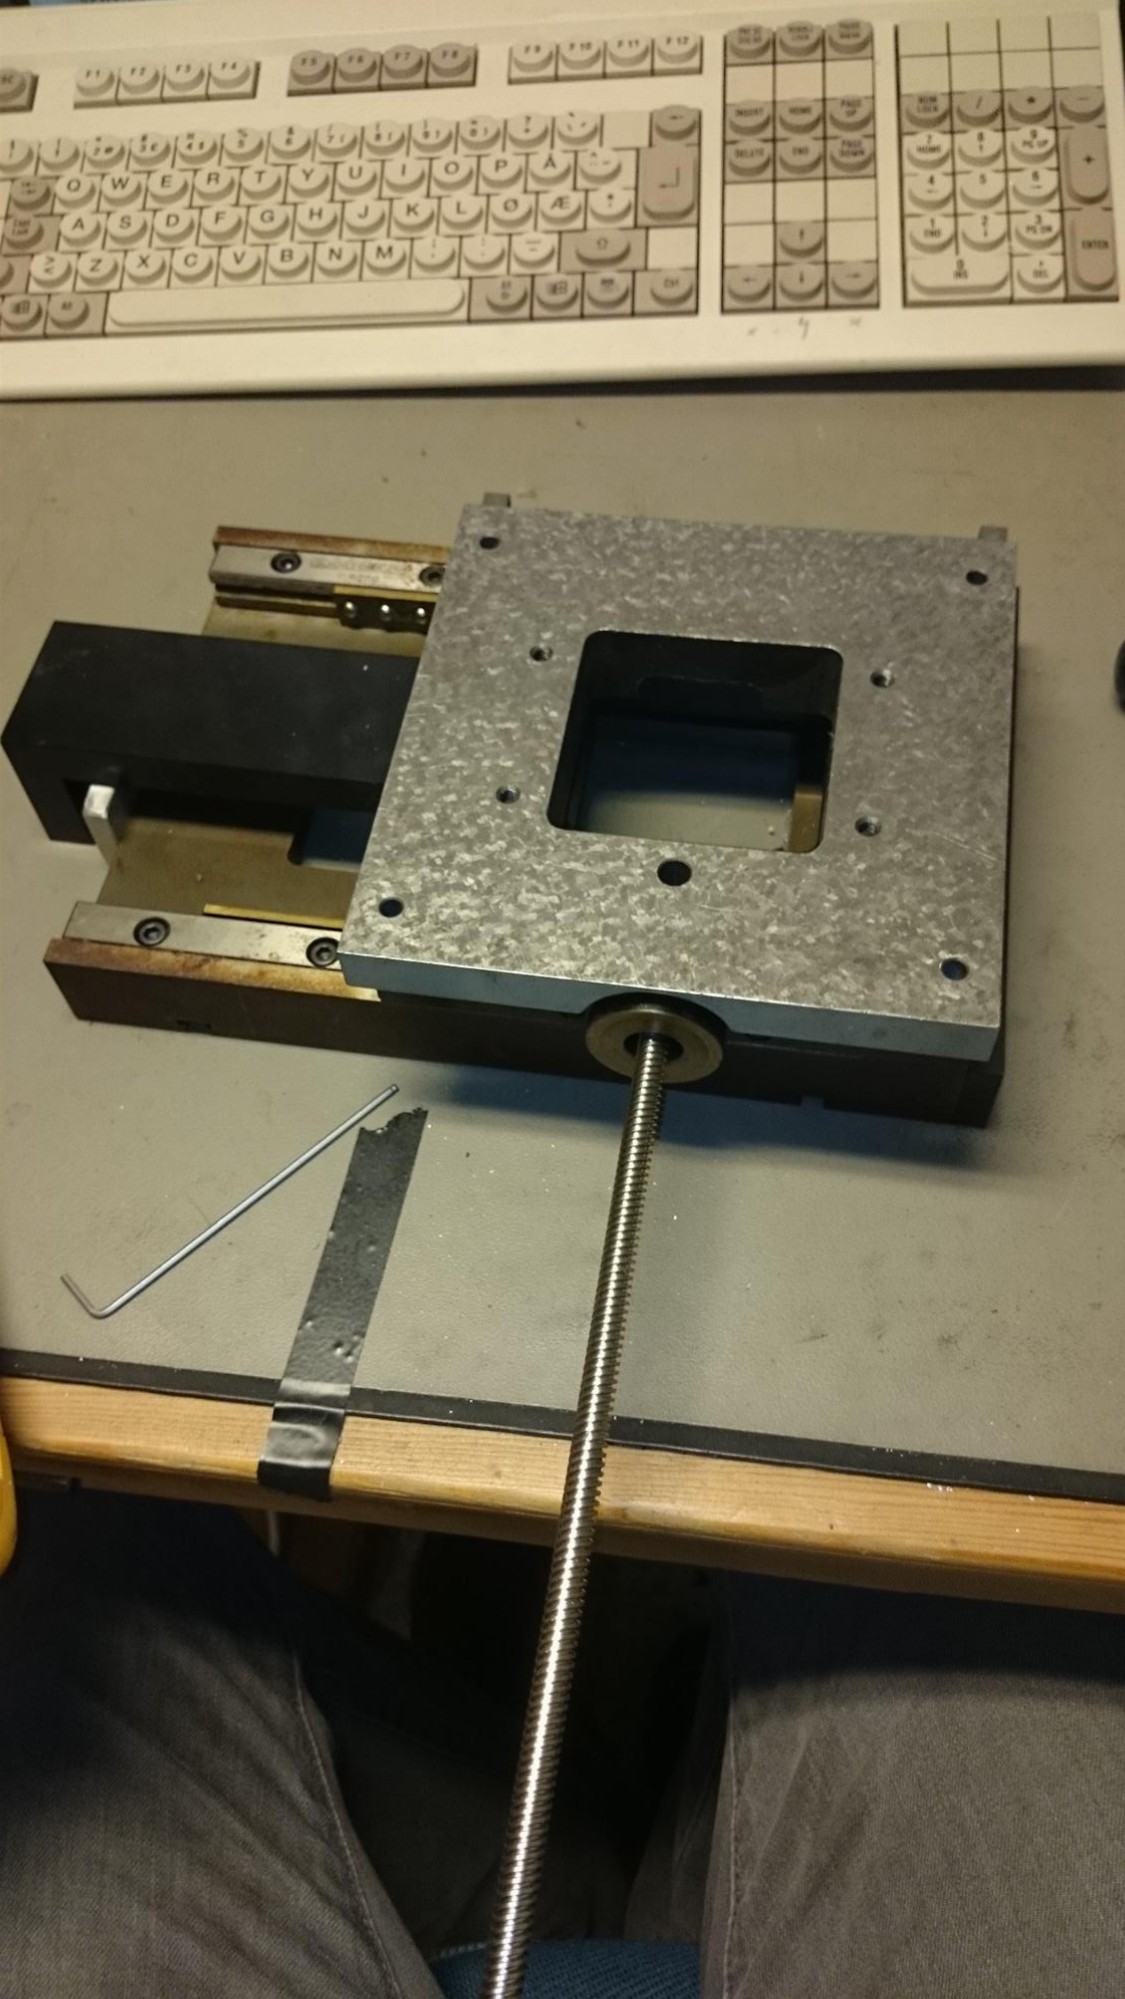
- This is what it all looks like, with the nut to the left and the removed section to the right
-

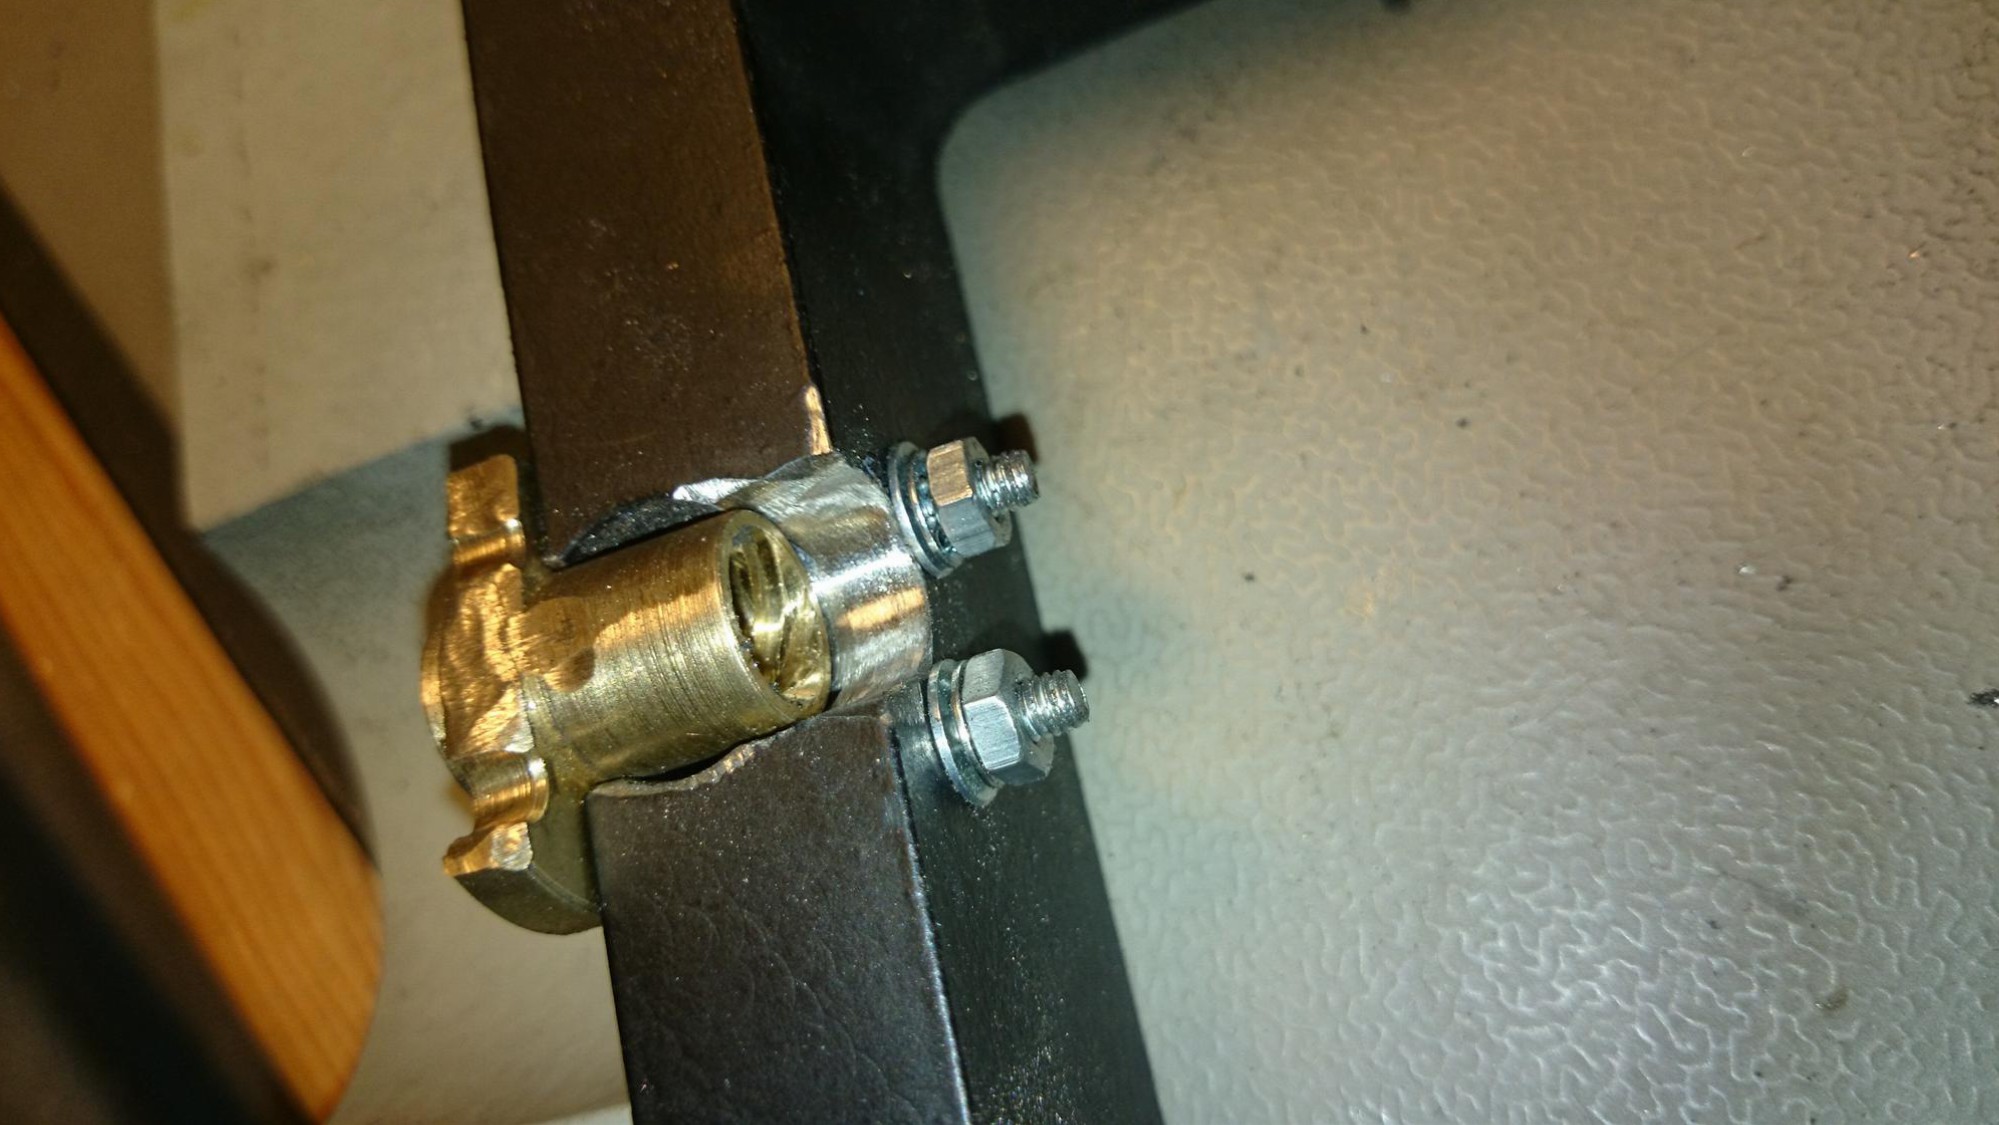
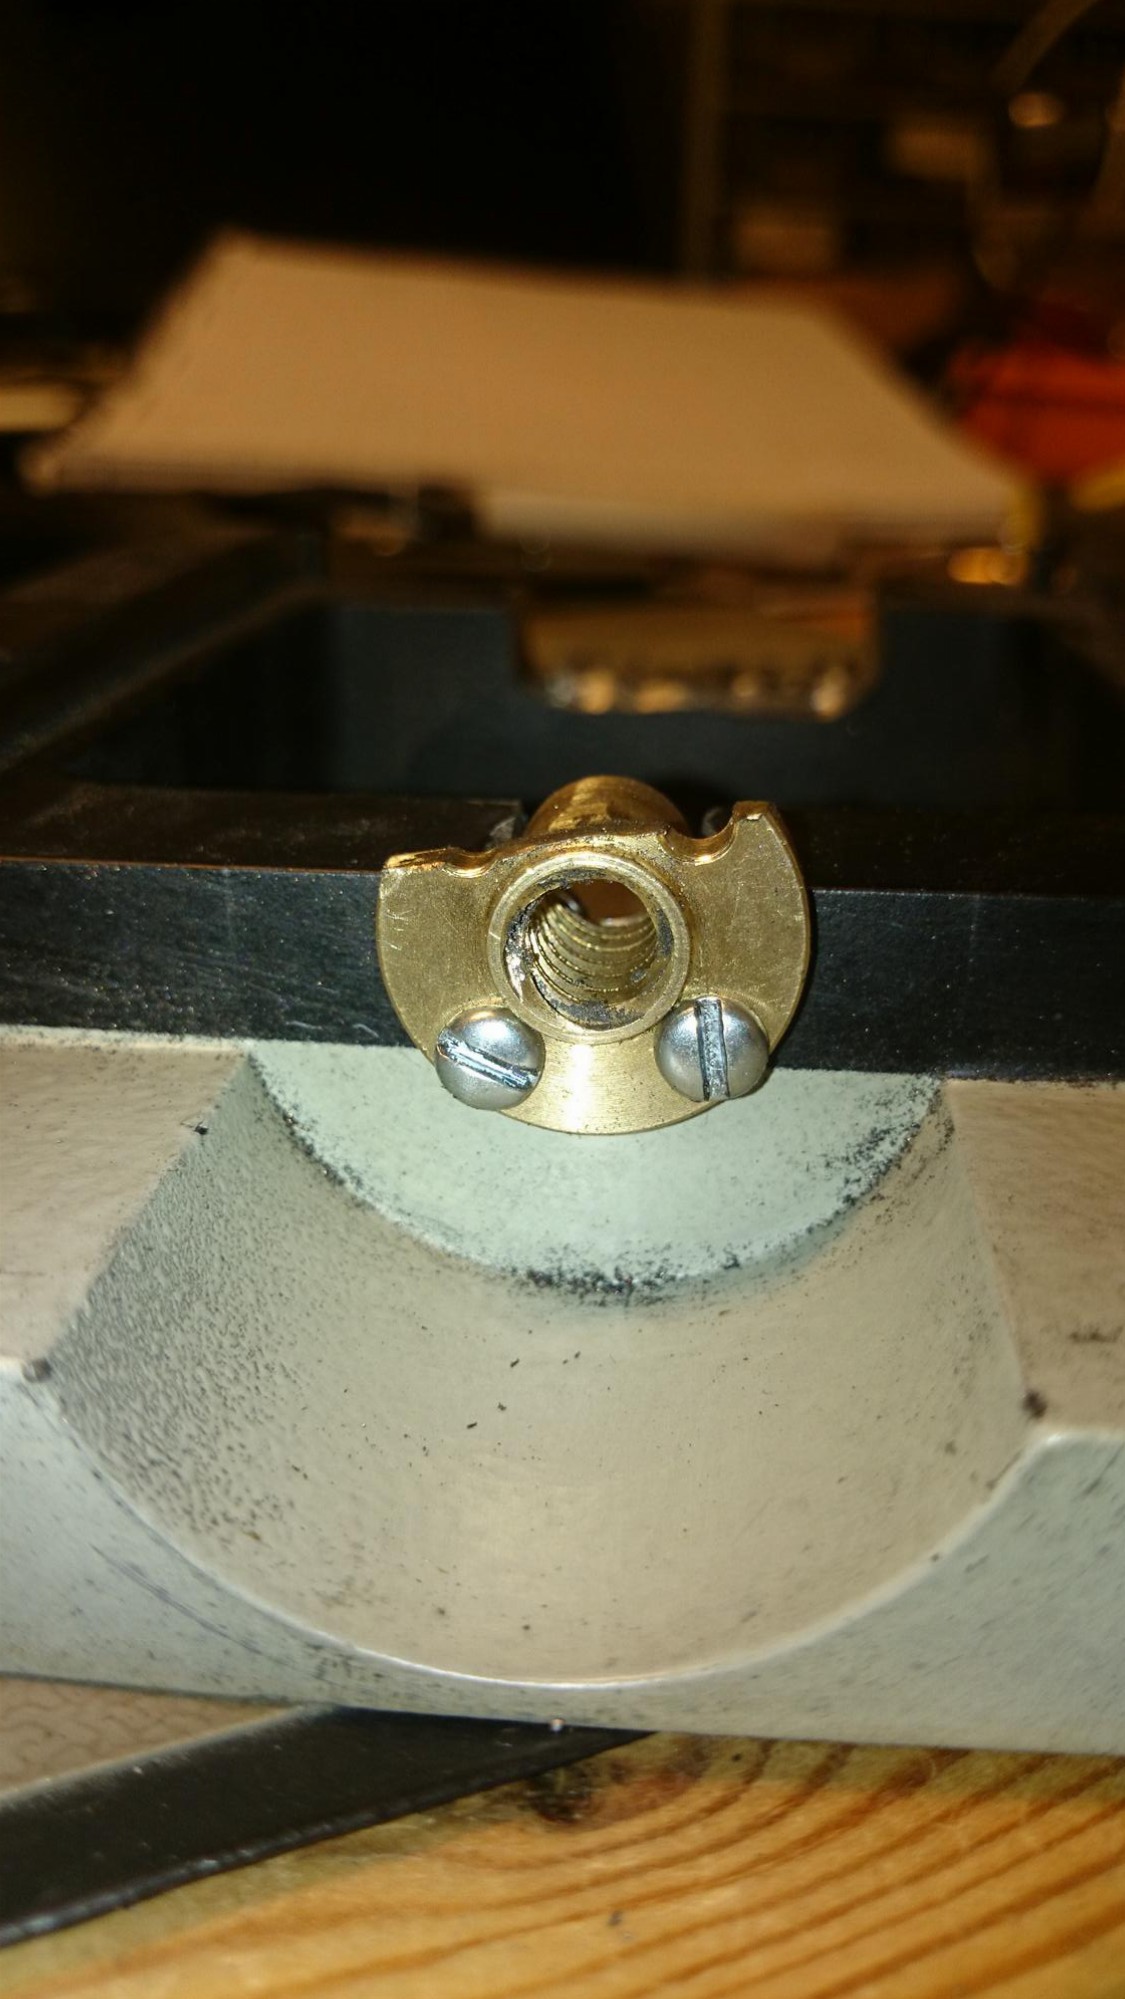
- Nut in place, ready for testing
-
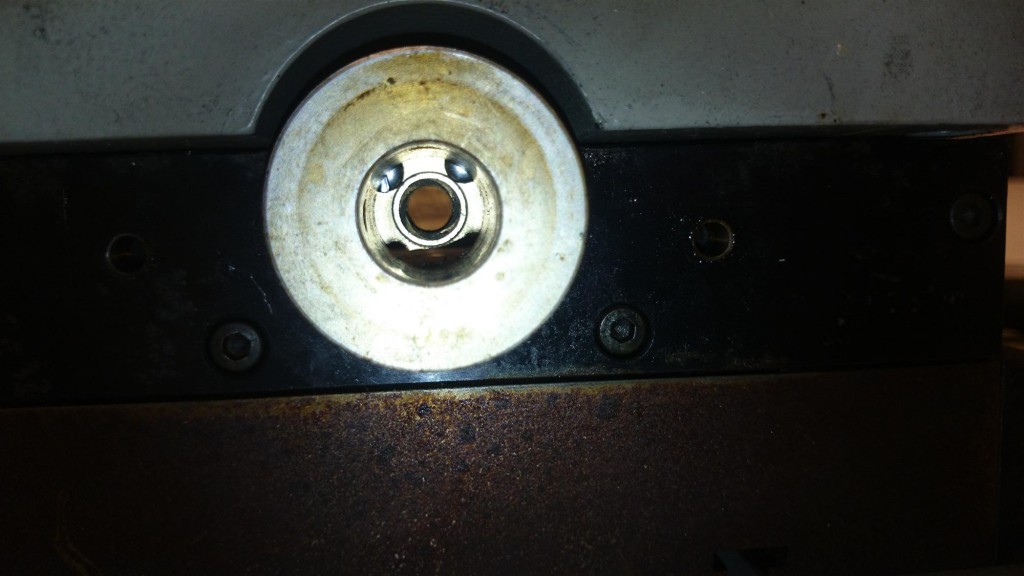
- I can see all the way through, that must be a good sign!

-
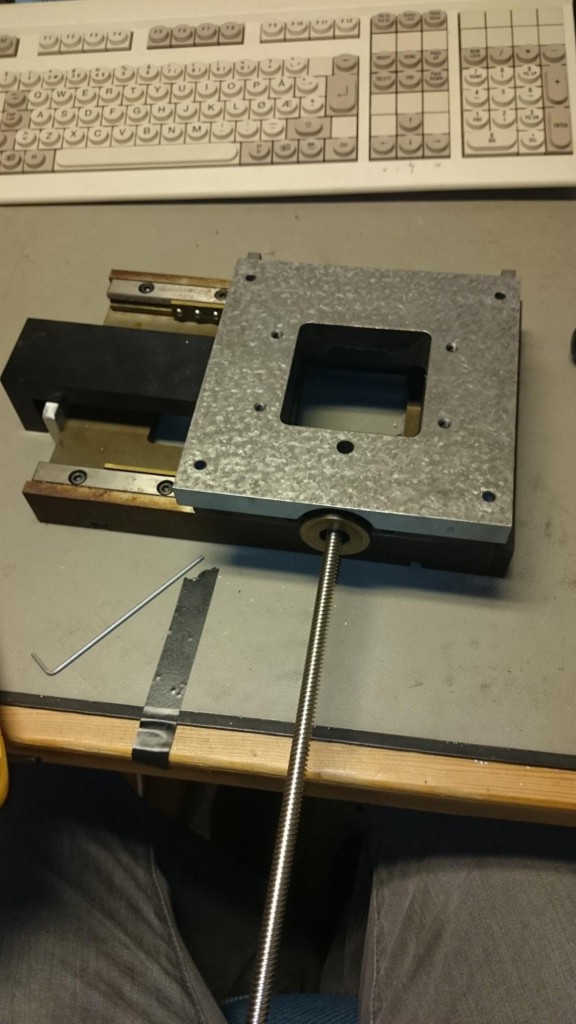
- Now the lead screw goes here.
Let me try to demonstrate how the lead screw works now: